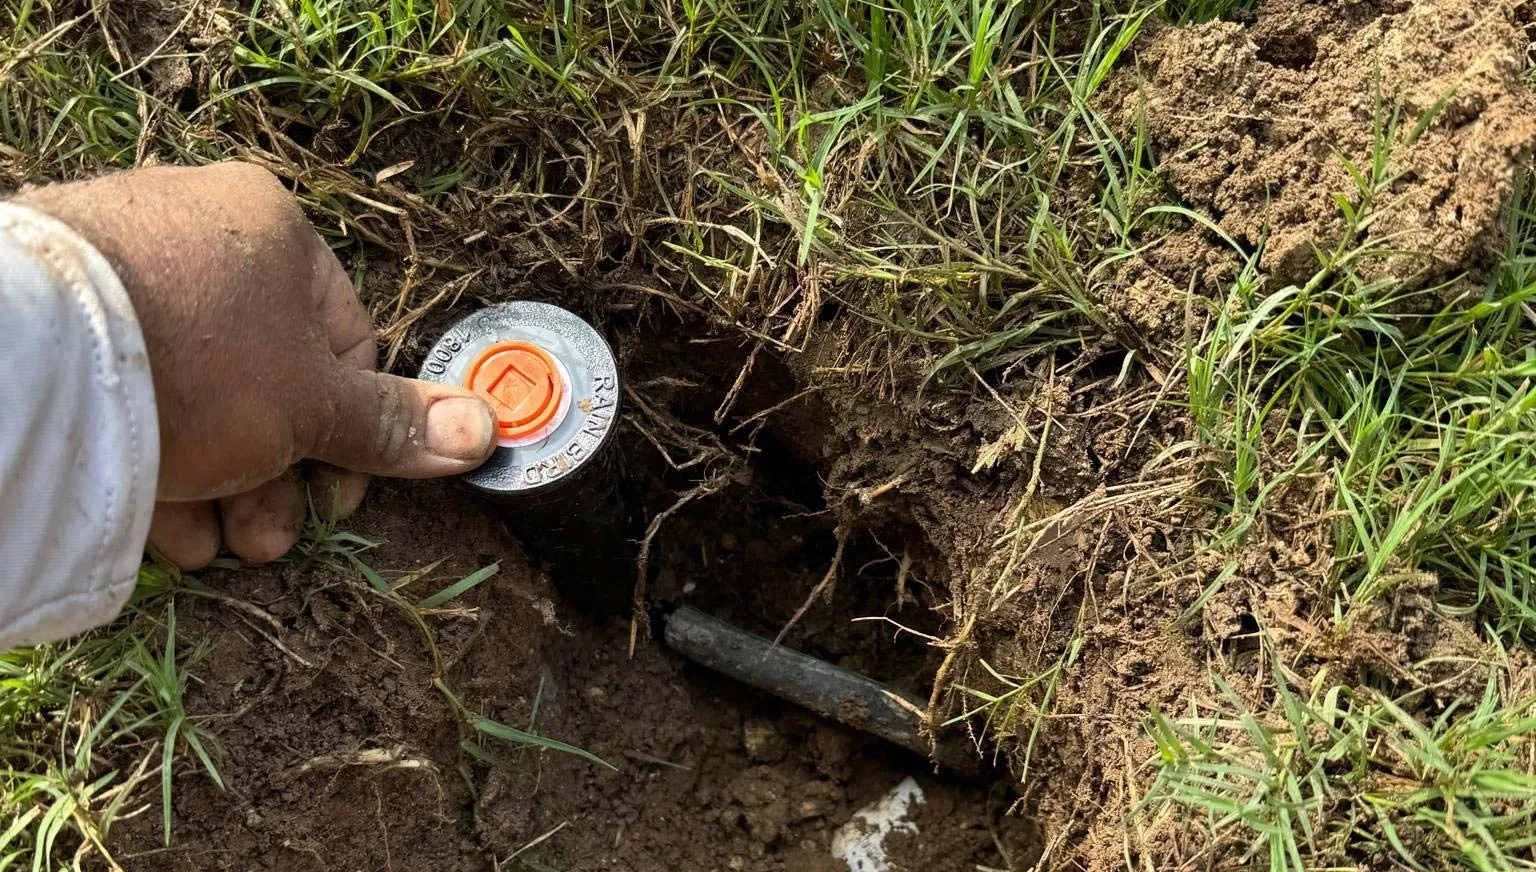
In-ground sprinkler systems help keep the lawn or garden looking aesthetic in the summer and spring months. However, the water inside the buried hoses and pipes becomes frozen in the winter. This may make the pipes crack. If you have rigid PVC pipes, they will burst, while flexible polyethylene pipes may develop cracks.
To ensure your sprinkler system is not damaged, deactivate the water flow to it. Also, drain the water out of all pipes. This way they will remain empty during the cold winter days. Before you proceed, thoroughly check what type of irrigation system you have thoroughly. Blowing out your sprinkler system will ensure the lines do not develop leaks and cracks.
A Word Of Caution
You should try to blow out the sprinkler system only when you have the required expertise. Improper use of an air compressor may damage the sprinkler system or cause the water line to burst, leading to hazardous outcomes.
Things You Will Need
- For blowout method: Bucket, Air compressor water blow out adapter, Air compressor, Channel lock pliers.
- Manual and auto drain methods: Channel lock pliers, bucket.
Blow Out method
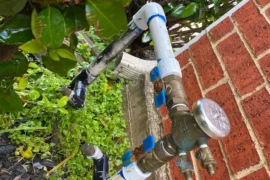
Shut down and drain the pipe lines – Turn off the isolation valve linked to your sprinkler system to stop water flow from the main line. A small faucet or hose bib will be either before the backflow preventer or inside the home. Put a bucket beneath the faucet and then open the hose bib to drain the water.
Turn off the timer – Your sprinkler system may or may not be timer-driven. If it is, then you have to shut it down. This helps protect the timer as well as the sprinkler system by reducing the danger of mechanical and electrical faults throughout the winter. Some timers also come with a rain mode. This allows easy usage, and when spring arrives, you can switch off the rain mode and resume the regular watering routine.
Link the air compressor – Using an air compressor is necessary to blow out your sprinkler system. The air compressor must have a capacity of producing air at 30-50 cubic feet per minute. Now, close the compressor’s airflow valves and link the compressor to your irrigation system using an air compressor blow out adapter. These adapters are easy to find because they are commonly used to winterize RVs.
Open sprinklers – You may use a powerful air compressor, but even that cannot blow out the entire system without causing any harm to the sprinklers and pipes. So, you should open each sprinkler zone to allow air flow. This will also let water flush out instead of developing pressure inside a closed system.
Start from the farthest zone and then come to the main line, one by one. The entire irrigation system gets empty of water with a zone-wise blow out. Be careful when you have uneven terrain in the yard. In that case, begin with a sprinkler zone on the higher level.
Blow out Sprinkler Line
Close the backflow valves to direct airflow in the reverse direction and begin the blowout process. With the highest/ farthest sprinkler zone open, switch on the compressor and start adding air to the sprinkler system. Open the compressor valve slowly, adding additional air pressure with time.
When the pressure is adequate, the water will come through your sprinkler head. Ensure the air pressure does not exceed 50 PSI- 80 PSI range, for polyethylene and PVC piping respectively.
Continue the water blowout process through the sprinkler heads until all water runs out. Then, close the first zone and choose the second one. This way, complete all zones until they are all blown out. Repeat the process once more to make sure every drop of water is out of the system.
Open and close the valves on the manual drain valves and backflow preventer to release any remaining air pressure in the system. Close the valves to keep the sprinkler system ready for the winter. Now your sprinkler heads and pipes are free of water.
Manual Drain method
Some irrigation systems come with manual drainage and you can open the drain valves to empty any excess water:
- Switch off and drain the water line- Turn off the isolation valve linked to your sprinkler system. Then look for the small faucet/ hose bib located down the line. It can be inside the house or outside before the backflow preventer. Now, keep a bucket under the faucet and open the faucet to begin water draining from the main sprinkler line.
- Find the manual drain valves- Look for the manual drain valves. These should be at the piping’s end. It may be necessary to raise the sprinkler heads as that will improve draining. These valves are meant to enable one way water flow.
- Drain the system-Open all the manual drain valves and then raise the sprinkler heads. The sprinkler system should begin draining the water. Using a set of channel lock pliers helps in loosening the valves. Drain the backflow device to stop water freezing and harming backflow preventer components.
- Close all the valves- After opening the valves, it may take some hours to drain all water from the system. When it is over, close all valves and then lower sprinkler heads.
Automatic Drain Method
Some sprinkler system makers have released models with an auto drain system. Such setups have valves to drain water automatically from the pipes when the pressure falls below a certain range of PSI.
- Shut down and drain the water line- Start by turning off the isolation valve linked to the sprinkler system. Find the small faucet placed after the isolation valve. Then, put a bucket under the faucet and drain water by opening the hose bib. Hose bibs are typically located outside before the backflow preventer.
- Run one sprinkler head- Now, you need to reduce the internal pressure. Then the automatic sprinkler system will start draining. Run one sprinkler head and no excess water will be added to the sprinkler setup now. The open sprinkler head will relieve the pressure gradually.
- Wait for some time – After the pressure drops below a certain PSI level, the automatic draining will start. The automatic drain valve will activate and clear the excess water. Raise the sprinkler heads above ground if they have check valves.
- Close all the valves – Wait for a few hours to complete the water draining process. When it is completed, close any valves so that water does not get into the sprinkler system.
FAQ
What PSI is the best to blow out sprinklers?
Ideally, you should choose 50 PSI for polyethylene piping to ensure irrigation lines are not damaged. With thick PVC piping, you may use up to 80PSI.
How long should you blow out a sprinkler system?
Blowing out a sprinkler system is not a lengthy process, usually. Each zone needs 2-3 minutes for blowing out. Ensure each line is clear before moving to the next. Move to the new zone when air comes out of the irrigation line and not water.
When should you blow out the sprinklers for winter?
The target is blowing out the sprinklers before the temperature goes low enough to freeze the water in the pipes. So, winterize the sprinkler system before the temperature dips to 32 degrees Fahrenheit. Ideally, this task is meant for early fall for the desired outcome.

