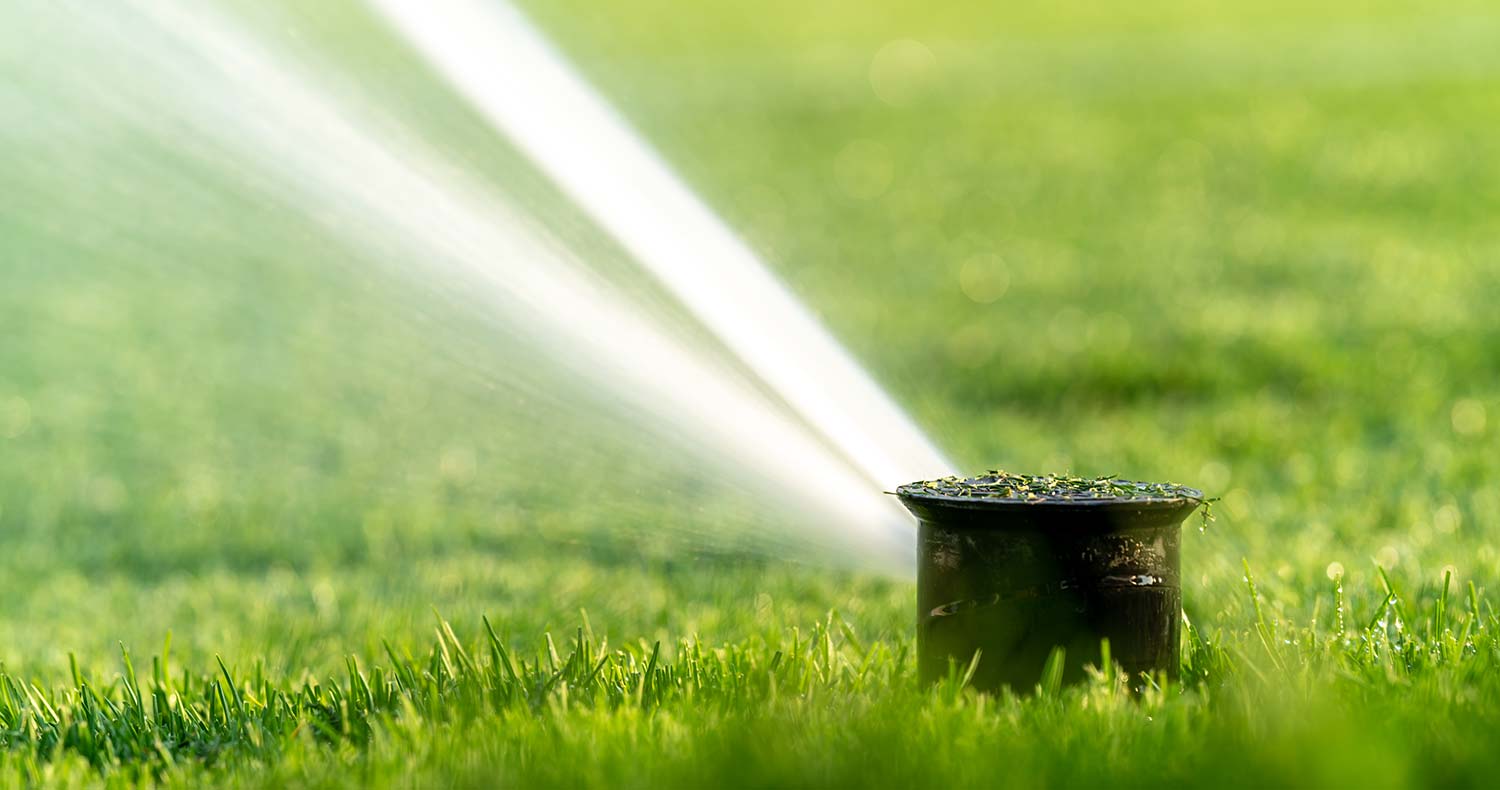
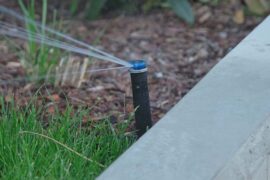
Expanding a sprinkler system by adding new zones can transform how you water your lawn or garden, ensuring more efficient and targeted irrigation. A sprinkler system is divided into zones to manage water distribution effectively. Each zone covers a specific area of your lawn or garden. As your garden grows or your landscaping needs change, you may find that your existing sprinkler system no longer provides adequate coverage. This is where adding a new zone becomes essential.
Identifying the Need
- New landscaping features
- Uneven water distribution
- Expansion of garden or lawn area
- Adaptation to different plant water needs
Planning and Preparation for Adding a New Sprinkler Zone
1. Assessing Your Current System
Before diving into the expansion, a thorough assessment of your current sprinkler system is crucial. This step is fundamental in ensuring that your existing setup can accommodate an additional zone without overloading.
Evaluating Water Source and Pressure
- Check your primary water source: Ensure that your water source has enough capacity to handle another zone. This might mean checking the water pressure and flow rate.
- Inspect your backflow preventer: Ensure that it can handle the increased flow.
- Consider the existing zones: How many zones do you currently have, and how much water does each use? This will help in understanding if your system can handle another zone.
Assessing Pipes and Control Valves
- Pipe Size and Length: Verify that the diameter and length of your existing pipes are adequate to supply additional areas without reducing pressure to existing zones.
- Control Valves: Each zone in a sprinkler system is controlled by its valve. Ensure your current system can incorporate another valve. Some systems have a maximum number of valves they can support.
System Capacity
- Check the capacity of your current system: This includes the irrigation controller. Can it handle an additional zone, or will it require an upgrade?
2. Mapping Out the New Zone
The next step is to plan the layout of the new sprinkler zone meticulously. This involves several important considerations to ensure optimal coverage and avoid any potential damage during installation.
Marking the Area
- Use flags or stakes: Clearly mark the boundaries of where the new sprinkler heads will be located.
- Visualize the coverage: Think about the areas that need water and how the new sprinklers will provide it.
Locating Underground Utilities
- Safety first: Use a utility locating service to identify and mark the location of underground utilities like gas, water, and electric lines.
- Color coding: Utilities are typically marked with specific color codes – for example, red for electrical and blue for water. This helps in avoiding them during digging.
3. Gathering Materials
Collecting the right materials beforehand will make the installation process smoother and more efficient.
Essential Materials
- New Sprinkler Valve: This is critical for controlling the flow of water to the new zone.
- PVC Primer and Glue: Necessary for securing PVC pipe connections to prevent leaks.
- PVC Supply Pipe: This will be the main conduit for water in your new zone. Ensure it’s the right size for your system.
- Sprinkler Control Wire: This wire will connect the new valve to your system’s controller.
- Wire Caps: For securing wire connections.
Tools and Equipment
- Pipe Cutter or Saw: For cutting PVC pipes.
- Trenching Tools: For digging trenches for the new pipes.
- Multimeter (for electrical testing): To ensure that the wiring is correctly installed and functioning.
- Protective Gear: Gloves, goggles, and other safety equipment.
Installation Steps for Adding a New Zone to a Sprinkler System
1. Adding a Valve
- Shutting Off Water Supply: Before beginning, ensure the main water supply to the sprinkler manifold is turned off. This is a crucial safety step to prevent water from gushing out when the system is opened.
- Locating the Sprinkler Manifold: Find the sprinkler manifold, usually located in an irrigation box buried underground. The manifold is the control hub for the various zones in your sprinkler system.
- Adding the New Valve: After locating the manifold, remove the cap from its end. This space is where you will add the new control valve. It’s essential to ensure the new valve is compatible with your existing system.
2. Connecting Pipes
- Preparation of Pipes: Begin by applying a thin layer of PVC primer to the inside of the manifold tube where you removed the cap. Follow this by applying PVC glue over the primer. These products help create a watertight seal and prevent leaks.
- Pipe Connection: Insert a short length of PVC pipe into the primed and glued opening. Ensure that the diameter matches your existing system for a proper fit. Apply primer and glue to the other end of this pipe and connect it to the new control valve.
- Extending the Line: Continue connecting lengths of PVC supply pipe, extending from the valve to the new zone. Ensure that these connections are secure and leak-proof. Proper alignment and connection of these pipes are vital for the efficient functioning of the new zone.
3. Attaching Sprinkler Heads
- Placement and Spacing: Attach the new sprinkler heads to the extended PVC pipes. Space them according to the manufacturer’s guidelines to ensure optimal water coverage. This spacing is crucial for uniform watering of the newly added zone.
- Leveling and Adjustment: After attaching, adjust the sprinkler heads to ensure they are level with the ground. This prevents damage to the heads from lawn mowers or foot traffic and ensures even water distribution.
4. Testing and Adjusting
- Initial Testing: With the new zone installed, turn on the water supply to the valves. Carefully observe the operation of the new zone to ensure there are no leaks or malfunctions. Look for even water distribution from all the new sprinkler heads.
- Checking for Leaks and Making Adjustments: If there are any leaks at the connections or if the water coverage is uneven, make the necessary adjustments. This might involve tightening connections or repositioning sprinkler heads for better coverage.
- Finalizing the Installation: Once you’re satisfied that the new zone is functioning properly, with no leaks and optimal sprinkler coverage, proceed to cover up the trenches. Carefully fill in the trenches with soil, ensuring that the PVC pipes are completely buried. This not only protects the pipes but also restores the aesthetics of your lawn or garden area.
Final Steps
Cover up any open trenches or areas around the new sprinkler heads with soil, adjust and optimize the sprinkler angles or spray patterns, and schedule your irrigation controller to adequately water the new zones.

