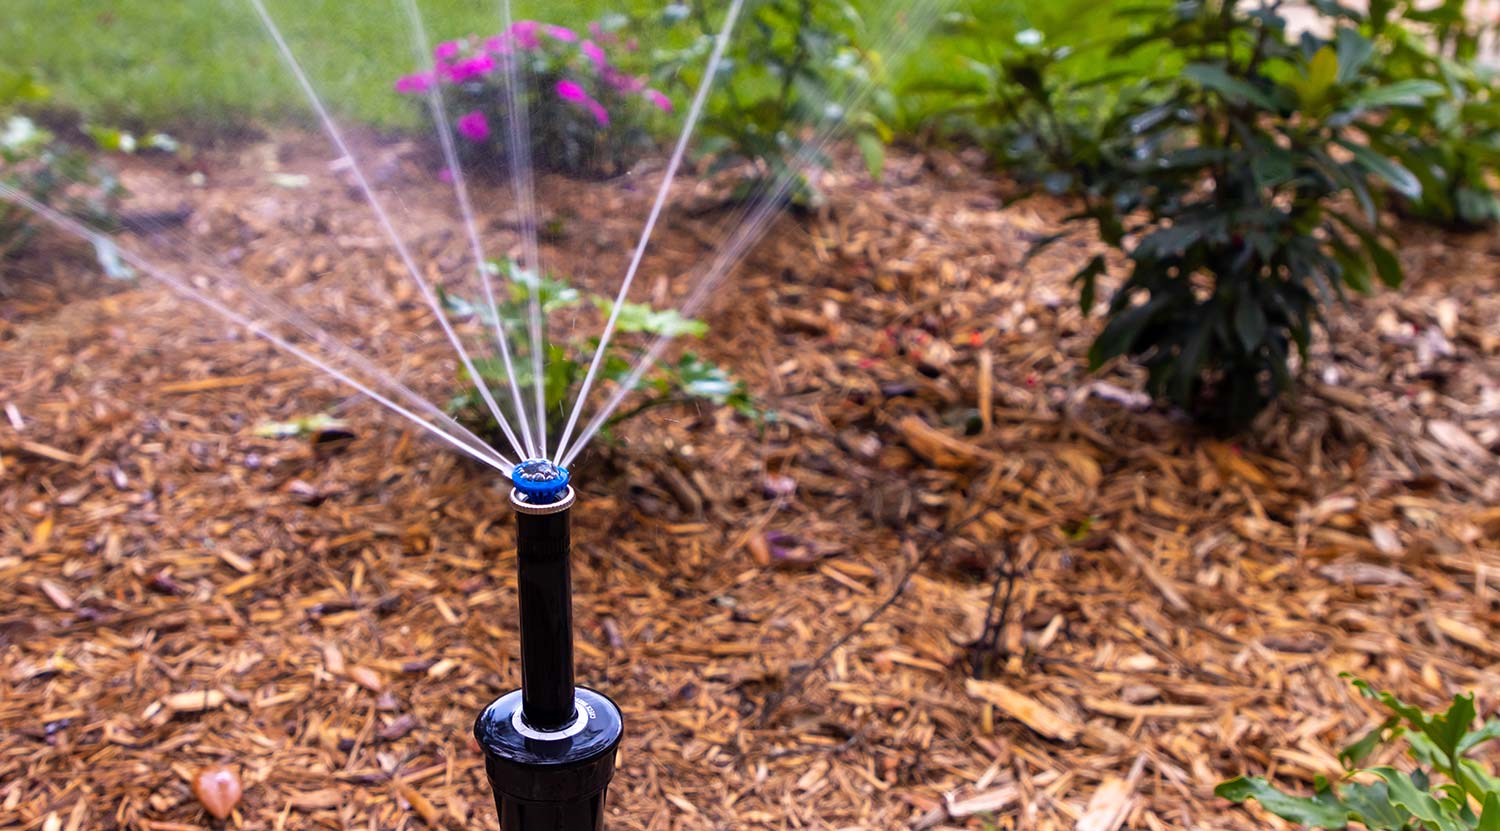
Sprinkler systems are a critical component for maintaining a lush, green landscape. However, like any system, they require maintenance and occasional repairs. One common issue is the need to replace a sprinkler nozzle. Whether it’s due to clogging, damage from lawn activities, or just the natural course of wear, understanding the intricacies of replacing a sprinkler nozzle is key to keeping your system running smoothly.
Understanding Sprinkler System Repairs
Sprinkler systems come in various types, such as in-ground, above-ground, and drip irrigation systems. Each has unique components and repair needs. The most common repair in sprinkler systems is fixing or replacing the sprinkler head, where water sprays out. The costs of these repairs depend on the type of sprinkler system, the extent of damage, and the parts needed.
Several factors affect the cost of repairing a sprinkler system. These include the system type (in-ground or above-ground), soil type, maintenance history, and the time of year the repair is carried out. Labor costs also play a significant role, with most sprinkler repair jobs charging between $50 to $100 per hour.
The cost of repairing various components of a sprinkler system varies. For example, repairing a sprinkler head typically costs between $50 to $85, while valve repairs can range from $75 to $125. The overall cost also depends on the system’s size and the seasonality of the repair.
Replacing a Sprinkler Nozzle
Step-by-Step Replacement Guide
- Preparation: Begin by carefully removing the sod around the sprinkler head. This initial step is crucial as it sets the stage for a clean and efficient repair process. Dig a hole around the malfunctioning head, ensuring that you do not damage the water line.
- Removing the Old Nozzle: The next step involves unscrewing the old sprinkler head from its position. This is typically done by twisting the head counterclockwise. It’s essential to inspect the riser – the small pipe connecting the head to the water line – for any signs of damage or wear.
- Installing the New Nozzle: Once you have a clean workspace and have assessed any additional components that may need replacing, you can proceed to attach the new sprinkler head. This process should be done with care to ensure a tight and secure fit.
- Testing the Installation: After the new nozzle is in place, it’s important to test the system. This step is crucial to identify any leaks or misalignments and to ensure the new head functions as intended.
- Restoring the Area: Finally, once you are satisfied with the new installation, refill the hole and carefully replace the sod. This step is important not just for aesthetics but also for the health of your lawn.
The cost of a sprinkler nozzle itself varies. A fixed-spray sprinkler head can cost between $12 to $16 to install, while other types like gear-driven and rotary heads may have similar costs. Remember, these costs are for the nozzle itself, excluding labor.
DIY vs. Professional Replacement
While DIY replacements can be more cost-effective, they come with risks of improper installation. Professional installation ensures accuracy and can prevent further damage, but it also adds to the total cost due to labor charges.
Conclusion
Replacing a sprinkler nozzle can be a straightforward and relatively inexpensive process, especially if you’re familiar with your sprinkler system. However, considering the various factors influencing cost and the complexity of some systems, sometimes it’s best to rely on professional services. Proper maintenance and timely replacements not only ensure efficient watering but also prolong the lifespan of your sprinkler system. Remember, a well-functioning sprinkler system is not just about watering your lawn; it’s about conserving water and maintaining the overall health of your garden.

