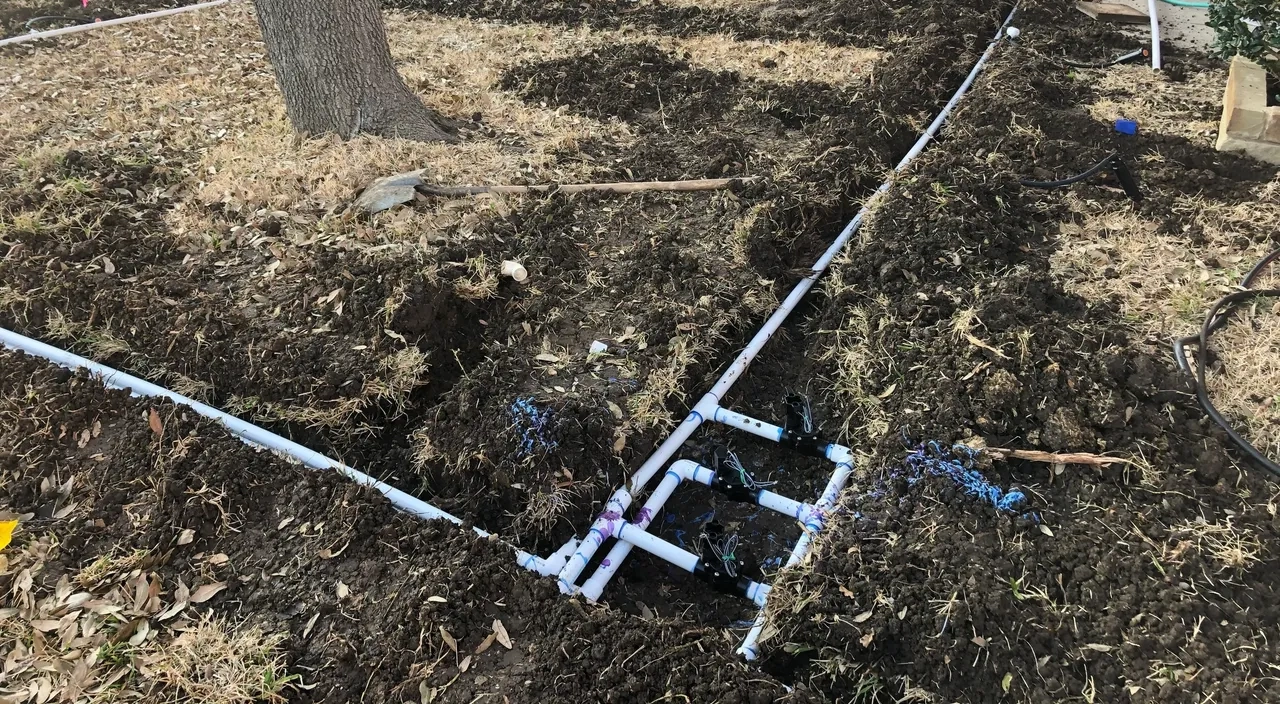
So, your sprinkler head suddenly disappeared underground! You find that the sprinkler head is gone after mowing a little low when the grass had grown taller. The nice thing is you will not have to move mountains to fix a buried sprinkler head. You must know the process thoroughly to get the desired result. Don’t be in a hurry or you might end up cracking the pipe.
When you find the lawn irrigation system is not working properly, check the sprinkler head. Here, we offer you a close look at what you should do in such situations and what to avoid.
Why do sprinkler heads sink –to begin with?
After setting up a pop-up sprinkler head, you feel that it will stay in place, right? That is not always the case! Over time, it gets buried by foot traffic, mowers, compacted soil from rain, and similar factors. Here’s how:
- The heads get lower due to soil erosion.
- The foot traffic and mower wheels help smash dirt down.
- If you have a fast-growing turf grass, such as St. Augustine and Bermuda grass, the grass will hide it fast.
- Lawn aeration can also lead to sprinkler heads getting buried.
- If the contractors fail to level it right or don’t use swing joints, it can happen.
Fixing a buried sprinkler head step-by–step
When trying to fix a buried sprinkler head, do not act in a rushed manner. You can end up damaging the pipes. Here’s how you should proceed:
Turn off the water system
At first, shut the irrigation controller off. If the line is on and you somehow break a pipe, the lawn will get flooded soon, leading to a messy situation!
Mark the region
It would be a good move to use a small flag or stick to mark the spot in your lawn. Turn on the irrigation system for a while to find out the precise location. If it has been buried deep, you will hear a hiss or see a bubble.
Dig a hole like a donut shape
Now, dig a donut-shaped hole and begin 3–5 inches out from the center. If possible, you can set the sod aside for reuse.
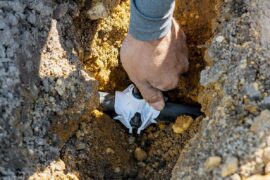
Dig down about 6 inches or so to find the swing joint and sprinkler body. Dig slowly as you go deeper to avoid damaging the pipe.
Assess for tilt and any damage
Before you bring it upward, check the sprinkler head carefully.
- The water spraying pattern will be crooked if it is tilted sideways.
- If the base is leaking or there’s a crack, replacement is the way out.
- Clean the grit and roots wrapped around the part.
Use a riser or extender to raise it
Do not work like amateurs who try to dig the pipe up and bring out the whole thing! That is messy and time-intensive, too. This is what you should do instead:
- Unscrew the sprinkler head slowly from its fitting.
- If the head seems okay, you can wrap a Teflon tape around a sprinkler riser extension. Then, screw it into the fitting.
- Then, you can screw the sprinkler back on.
You have to use a precisely sized riser to raise the sprinkler head. If it is a swing joint, you canraise and twist the elbow carefully. It will then flex and reposition itself.
Level the sprinkler head to grade
Before closing it, ensure the sprinkler is at the level of the soil surface, neither too low nor too high. If necessary, use a carpenter’s level.
Test carefully before you refill the dirt
Now, activate the irrigation system once and let it run. This will be helpful to check the following issues:
- Any leakage
- Anomalies in spraying pattern
- Any drop in water pressure
- If it is popping up well
If you find the head spitting mud, flush it well or clean up the filter screen under the nozzle.
Backfill properly
Once the sprinkler head is working properly, you can fill in the soil carefully. Slowly pat it down around the base without going too hard. Next, replace the grass clump or sod cut earlier.


