Sprinkler systems are a blessing for maintaining lush, green lawns and gardens. But when a pipe breaks underground, it becomes a source of frustration, leading to unexpected water bills, landscape damage, and the daunting task of locating and fixing the problem. In this comprehensive guide, we’ll explore how to find a broken sprinkler pipe underground and address the issue efficiently.
The Preliminary Steps to Finding a Broken Sprinkler Pipe
01. Understanding Your Sprinkler System Layout
First things first, you need a good understanding of your sprinkler system’s layout. If you’re lucky, the installer might have given you a system map. If not, you’ll have to play detective and figure out the layout yourself. This could mean a bit of digging. Usually, sprinkler pipes are laid out in straight lines or with T-joints and are about 8-12 inches underground. Most modern systems use PVC pipes, which can be found with pipe detectors. These detectors are handy because they can find your PVC pipes without the need to dig up your whole yard.
02. Spotting the Signs of a Leak
A significant increase in your water bill can be a telltale sign of a leak. To confirm, turn off the water shut-off valve, wait for the water in the system to stop flowing, and then check your water meter. If it’s still running, you likely have a leak. Additionally, a decrease in water pressure or the absence of water from interconnected sprinkler heads can indicate a broken pipe.
03. Conducting a Visual Inspection
Take a walk around your lawn and look for signs of leaking. You might see places where water’s pooling up or parts of the ground that feel squishy underfoot. Also, keep an eye out for parts of your lawn that are unusually green or lush – they could be getting extra water from a leak. Another thing to look for is dips in the ground. These dips can happen when water from a leak washes away soil from under the surface. Spotting these signs helps you figure out where you might need to dig to find and fix the broken pipe.
Advanced Techniques for Pinpointing the Broken Pipe
01. Utilizing Equipment for Leak Detection
If you can’t spot the leak just by looking, there are tools that can help. These tools use sound to find where water is leaking. You might use a water-leak microphone, which listens for the sound of water escaping, or an electro-acoustic tester, which sends a signal down the pipe and listens for changes in sound. Leak-noise loggers are another option; they record sounds in your pipes over time, helping you pinpoint exactly where the leak is. Using headphones with these tools helps you hear the leak sounds more clearly. This way, you can find the exact spot of the leak without having to dig up large areas of your yard.
02. Pressure Testing the System
Another effective method is pressure testing. Attach a pressure gauge to your system’s mainline, increase the pressure, and listen for hissing sounds or use a listening device to pinpoint leaks. This method helps locate the exact spot of the leak with precision.
03. Employing a Metal Detector
If your sprinkler system has metal parts, like in the sprinkler heads or valves, a metal detector can be really useful. You use it to scan over the ground and it beeps when it finds metal. This can help you figure out where the pipes run underground. When you find a metal part, mark that spot with a flag or spray paint. Later, when it’s time to dig, these marks will show you where to start. This method is especially helpful if you’re not exactly sure where your sprinkler pipes are or if you think the leak might be near a metal part of the system.
Unearthing and Repairing the Pipe
01. Careful Excavation
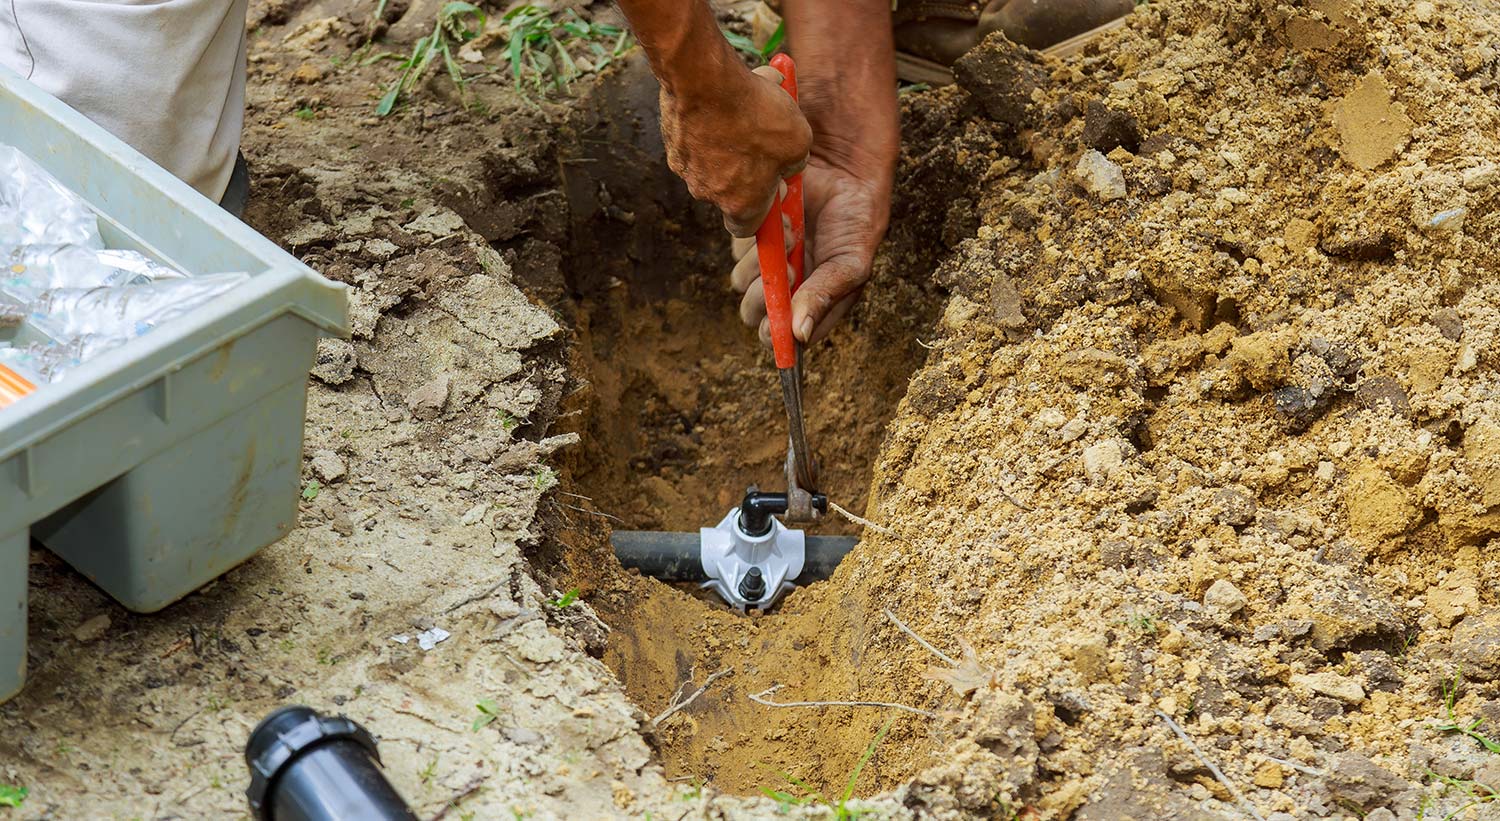
Once you’ve narrowed down the leak’s location, it’s time for excavation. Use a shovel to carefully dig around the suspected area. Keep an eye out for any changes in soil color or texture that could indicate the presence of a leak.
02. Locating and Assessing the Damage
After exposing the pipes, inspect them for visible damage. If there’s no obvious break, use a probe rod to detect the exact location of the leak. Mark these spots and then dig carefully around each one until you find evidence of leaking water.
03. Repairing the Broken Pipe
Once the broken pipe is located, the next step is to repair it. This might involve cutting out the damaged section and replacing it with a new piece, using couplers and pipe cement for PVC pipes, or appropriate connectors for other types of pipes.
Closing Thoughts
Locating and repairing a broken sprinkler pipe underground can be a challenging task, but with the right approach and tools, it’s definitely manageable. Regular maintenance and timely repairs can save you from hefty water bills and keep your lawn looking its best.


